Create Viva Engage when Approval process enabled
Create Viva Engage when Approval process enabled
Viva Engage can be created in Teams Manager when user enables Enable Yammer community in Settings and it is connected to MS account.
The account that grants the permission has to login to Viva Engage once in order to create Viva Engage.
This section describes the steps for creation of Viva Engage when approval is enabled. Viva Engage can be created from Teams tab or from Requests tab. Create Team/Create Request for Viva Engage are explained below and they have the same fields. When Viva Engage is created from Teams tab, it is displayed under Open Requests.
Approval Enabled:
Go to Teams Manager and navigate to tab "Teams" or Request.
Click on button 'Create a Team' from Teams tab or Add a Request from Requests tab.

Option to select Viva Engage is displayed to user.
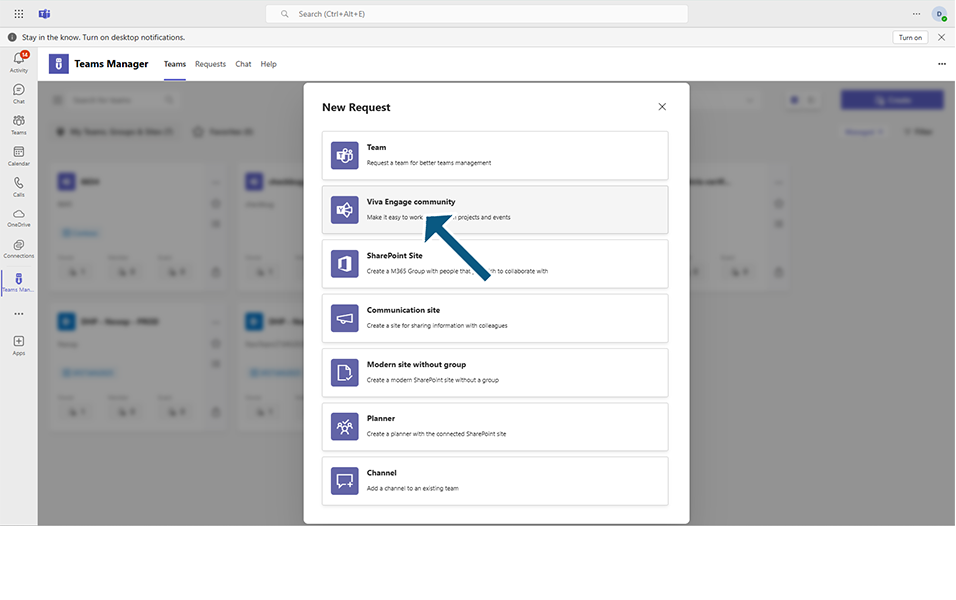
NOTE: Viva Engage are created without selection of any templates.
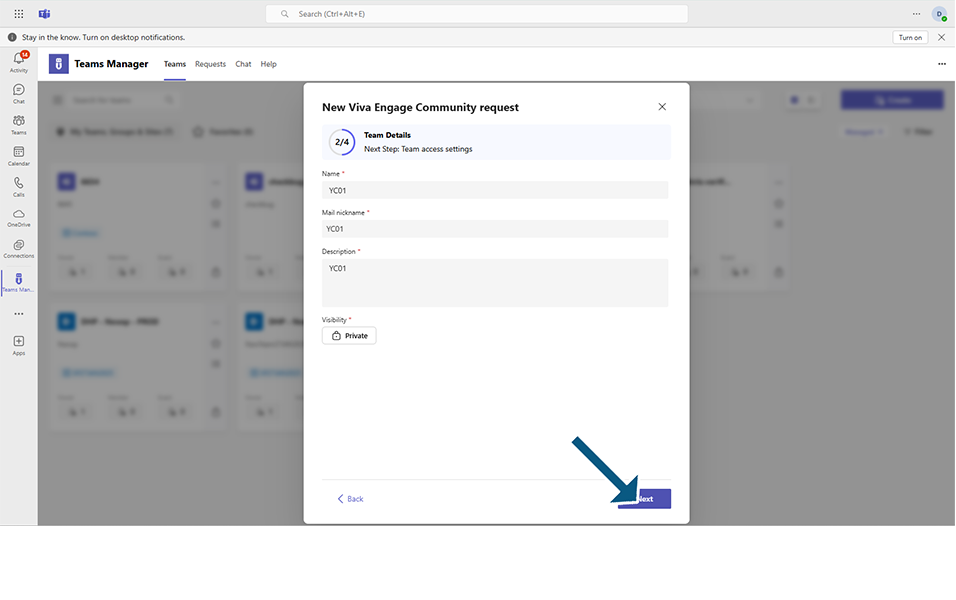
Enter the details related to the Viva Engage in the following fields:
Name: This is a mandatory text field which accepts alphanumeric characters and special characters between 3 and 100. Enter any Team name.
Mail Nickname: This field will be displayed as editable field, if Select the toggle field Mail Nickname changeable to Yes is updated in Settings.
Description: This is a text box which accepts alphanumeric characters and special characters. This accepts around 100 characters and this is not a mandatory field. Enter any description.
Visibility: Select Private or Public.
Click on next button.
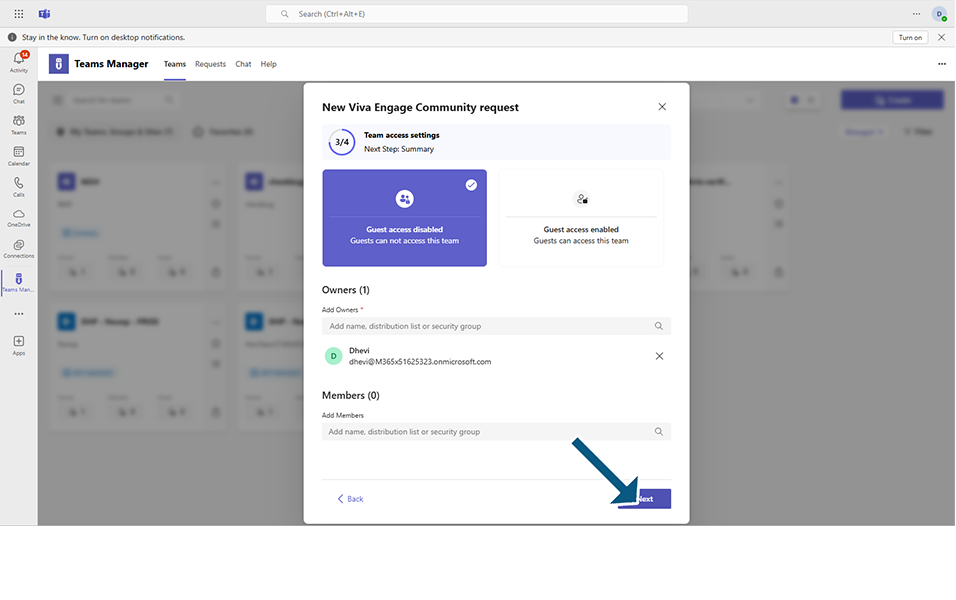
Owner: This is a text field and this field is by default updated with the user currently logged in. This will be the Owner of the Teams. One Owner is mandatory for the Yammer community, but there are possibilities to add more than one owner for the Teams. This is a mandatory field. By default this field is updated as "MOD administrator" as this is the logged in user.
Member: This is a text field and this field can hold more than one members. This is not a mandatory field. Enter "Alex" as member.
Select guest access disabled or enabled based on whether guest users are to be added to the Team and click on Next button.
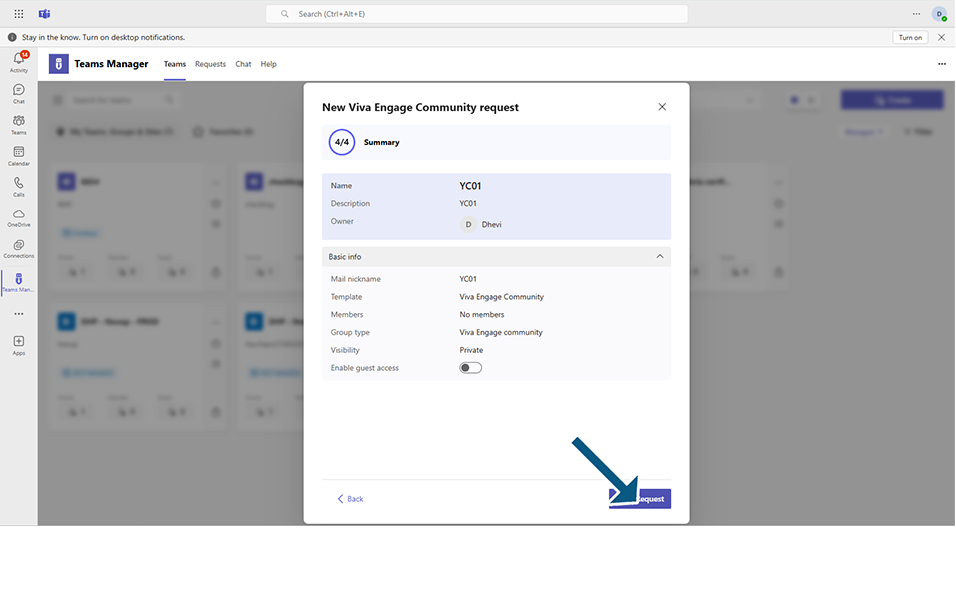
Viva Engage community Summary page will be displayed. Click on Send Request button.
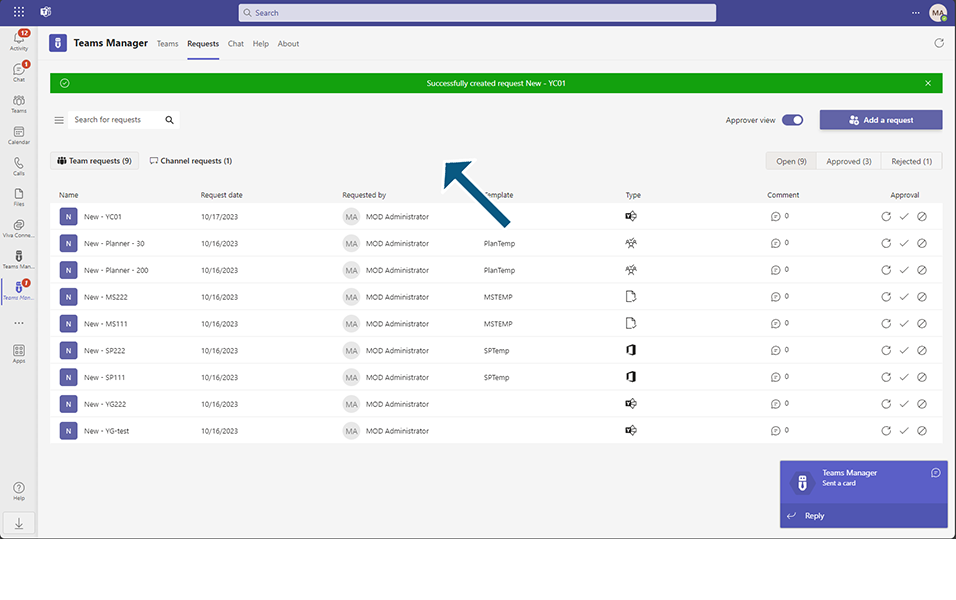
Viva Engage is created and displayed under Open Requests with type as Viva Engage.
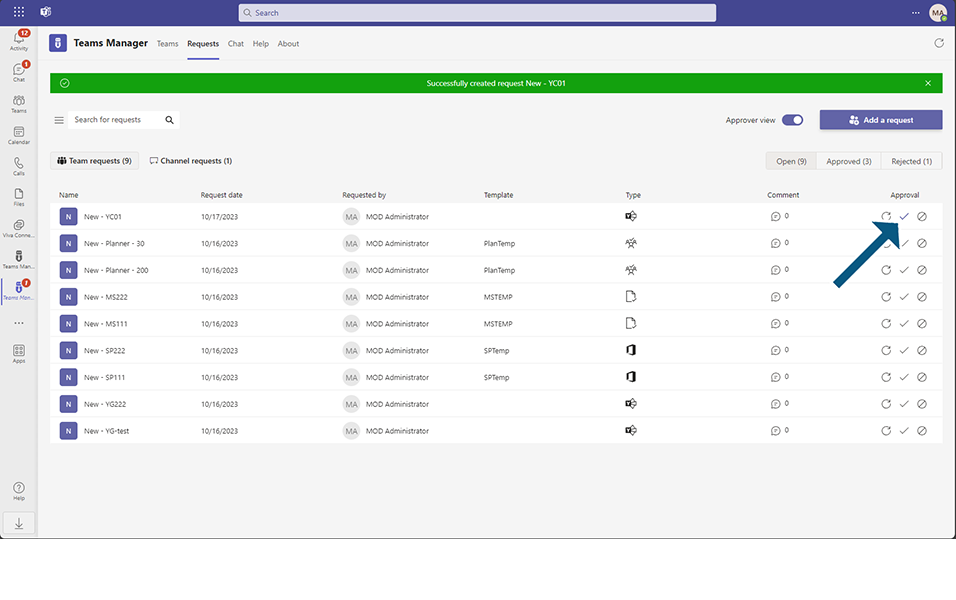
Login to Teams Manager as Approver.
Select the Viva Engage and approve the request.
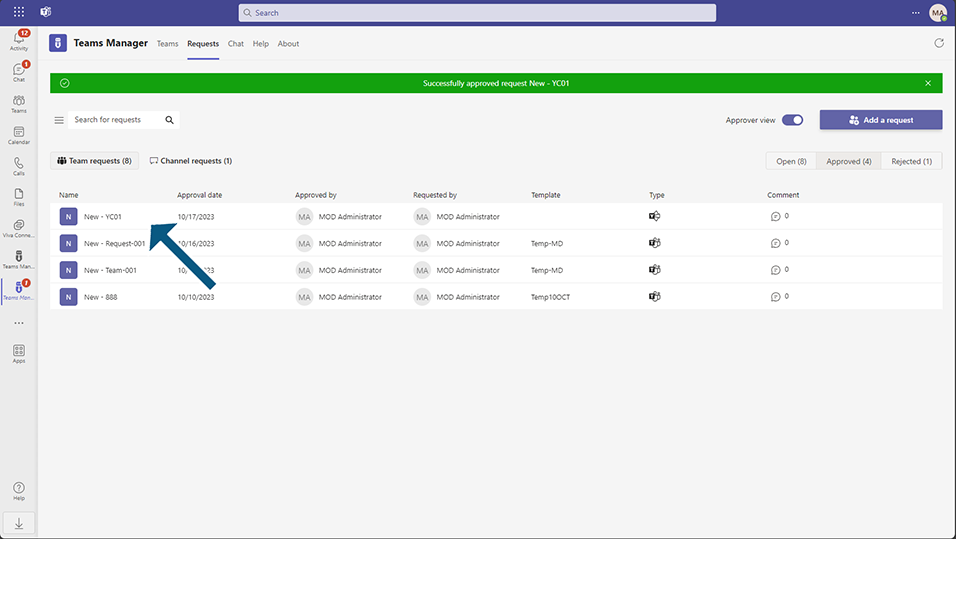
Viva Engage is approved and displayed under Active Teams.
Based on any policy that is applied, naming convention of Viva Engage will be changed.
Email and bot notifications are sent.
NOTE: Pipe characters are not supported in Viva Engage, If pipe character is entered in Name field, this character is removed and creation of Viva Engage is successful. Numbers are also not supported for creation of Viva Engage.
This completes the functionality on creation of Viva Engage when Approval is enabled.