Create Tasks
Create Tasks
This sections describes the steps for creating the Tasks. MindMap app allows you to create tasks and assign them to the specific MindMaps.
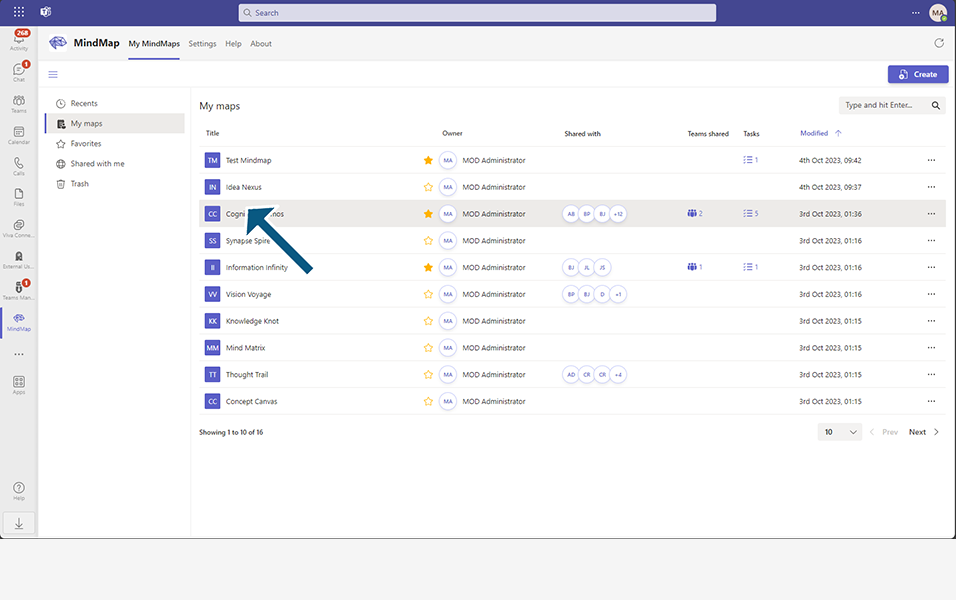
Go to My Maps and click on the title of the MindMap.
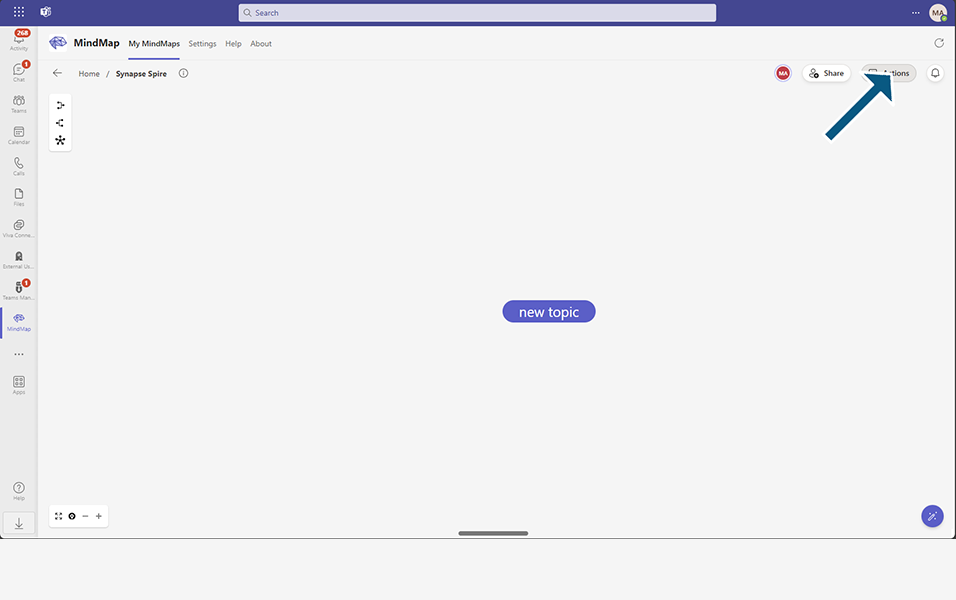
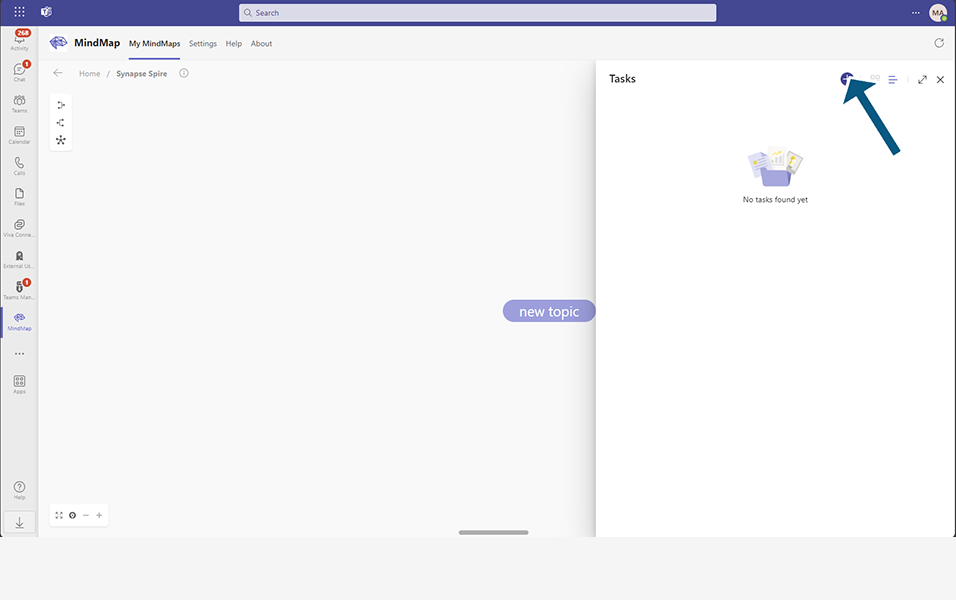
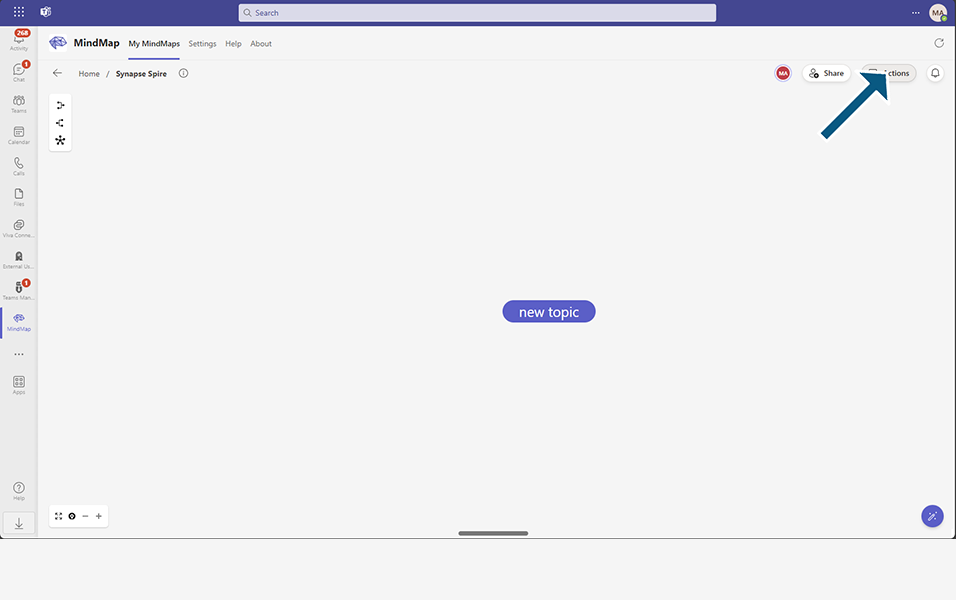
Click on the “Actions” on the top right side of the screen to open the Tasks window.
To manage tasks, user need to connect the mindmap to the Microsoft “Planner” plan.
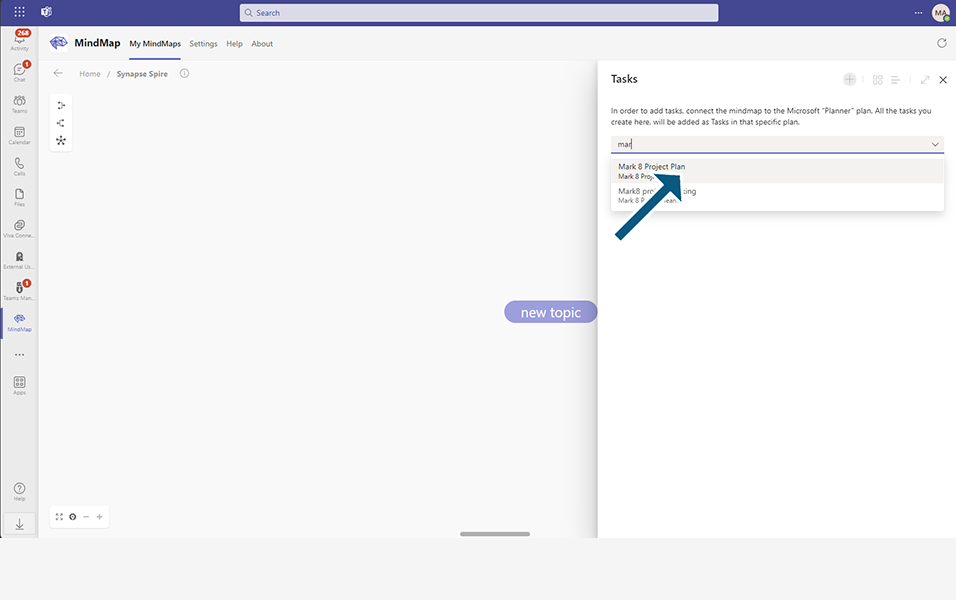
Choose the appropriate “Planner” plan and click on the "Connect" button.
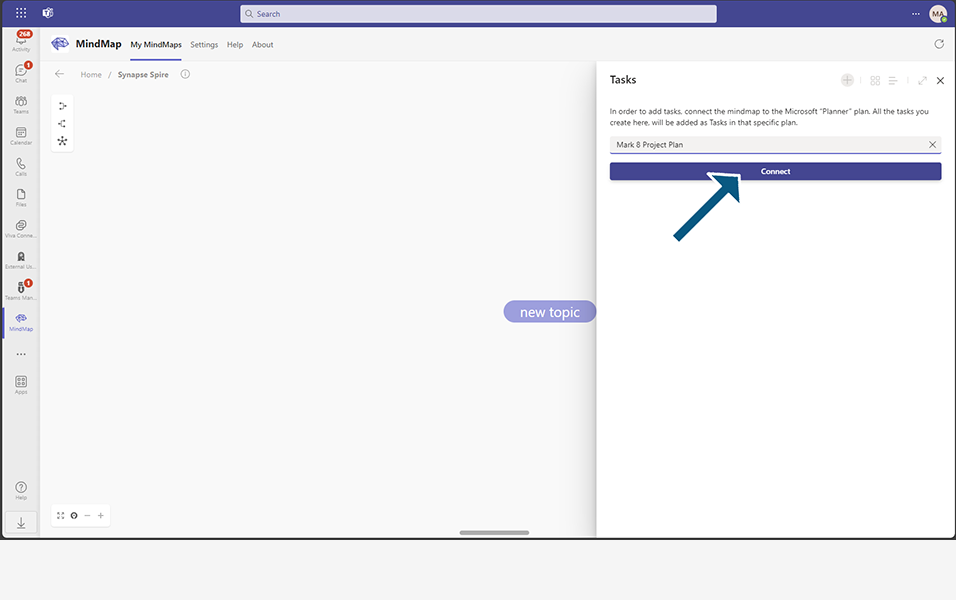
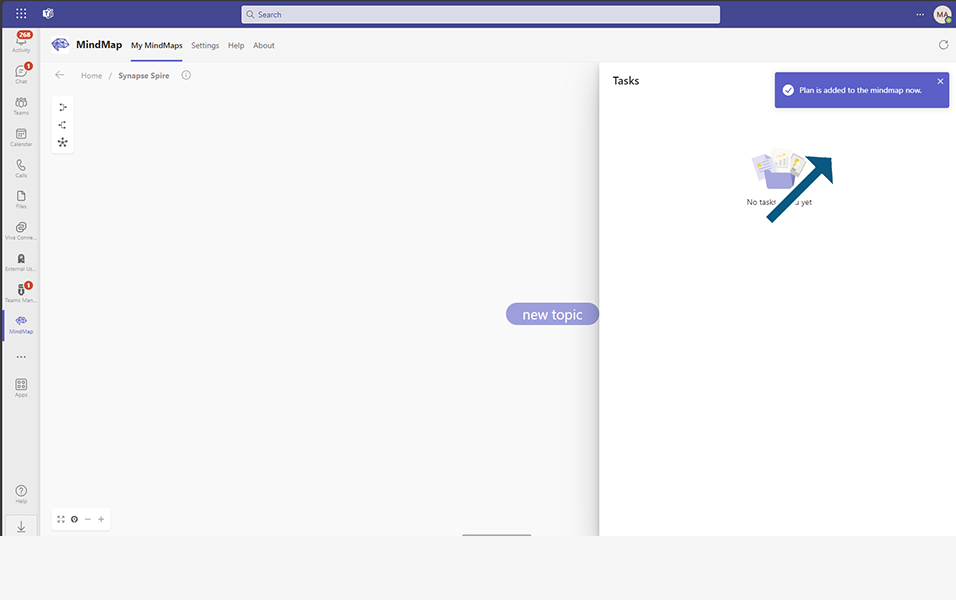
"Plan is added to the mindmap now" will pop-up.
Click on the "+" icon, and in the "Create task" dialog, fill in the fields for the task name, notes, due date, priority and assignment.
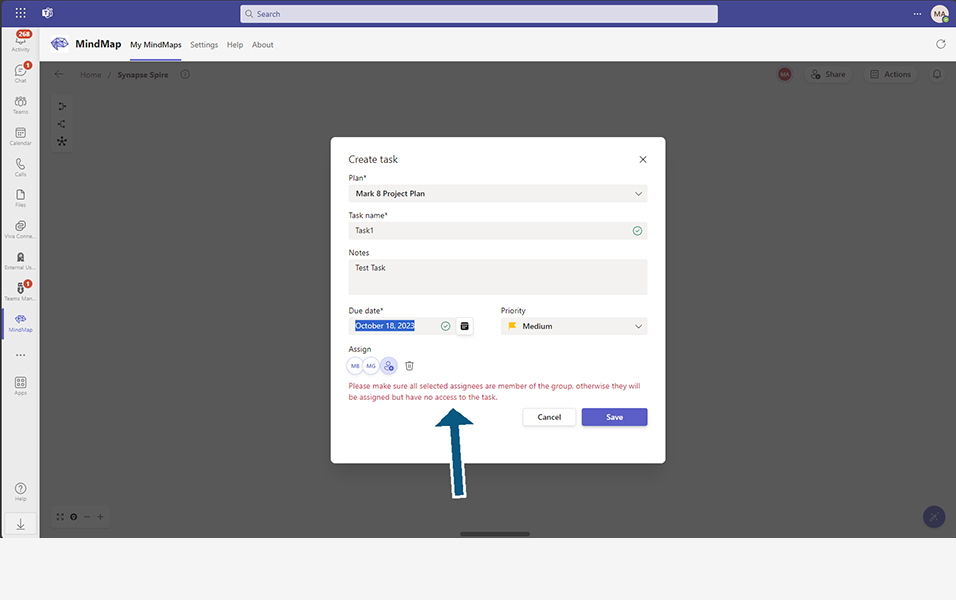
Click on the "Save" button.

Note: Please make sure all selected assignees are member of the group, otherwise they will be assigned but have no access to the task.
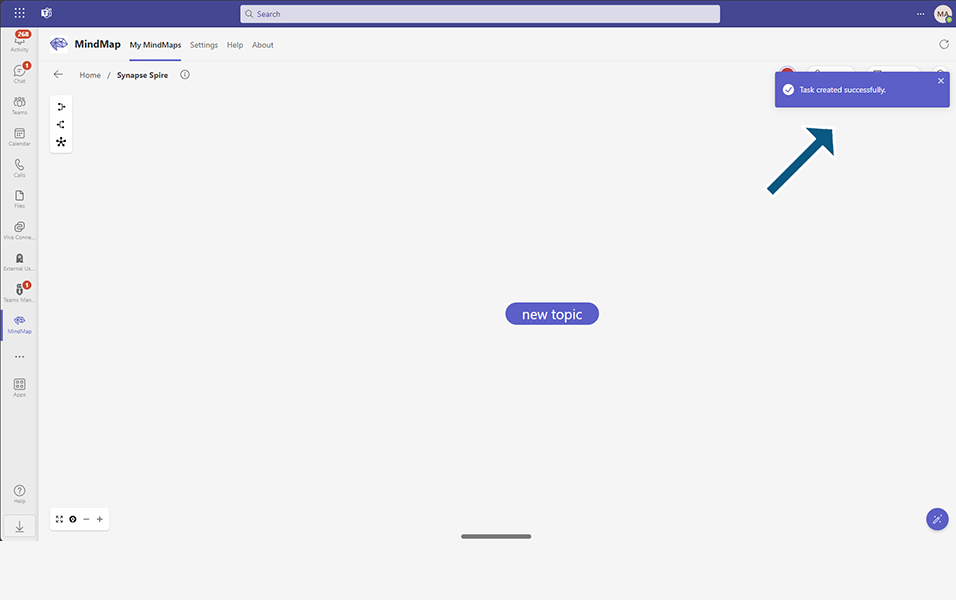
Confirmation message will be displayed on creation.
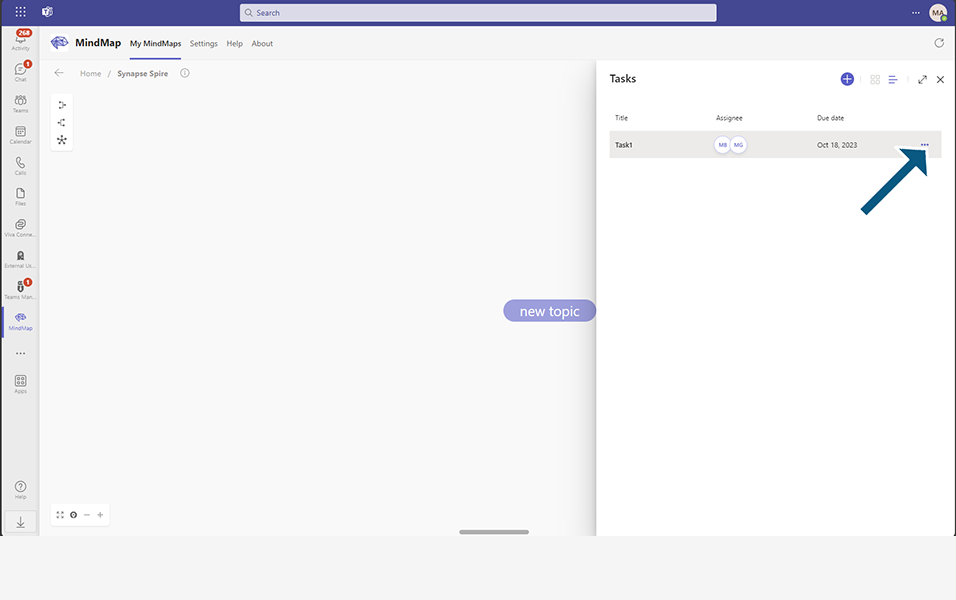
Go to view and manage the tasks that are created.
To open the Tasks window, click on the “Actions” in the upper right corner of the screen.
The newly created tasks with the task title, assignee, and due date will appear.
This completes the steps for creating Tasks.