CM Logo Field
To use the CM Logo field you have to do addtional steps to make it work.
!Important: Please confirm that these two entries are available in the web.config
<add name="Telerik_Web_UI_WebResource_axd" path="Telerik.Web.UI.WebResource.axd" verb="*" type="Telerik.Web.UI.WebResource, Telerik.Web.UI, Version=2015.1.225.45, Culture=neutral, PublicKeyToken=121fae78165ba3d4" />
<location path="Telerik.Web.UI.WebResource.axd">
<system.web>
<authorization>
<allow users="*" />
</authorization>
</system.web>
</location>
Please open the IIS Manager and navigate there to your Web Application. With a right click select the "Explore" submenu item. 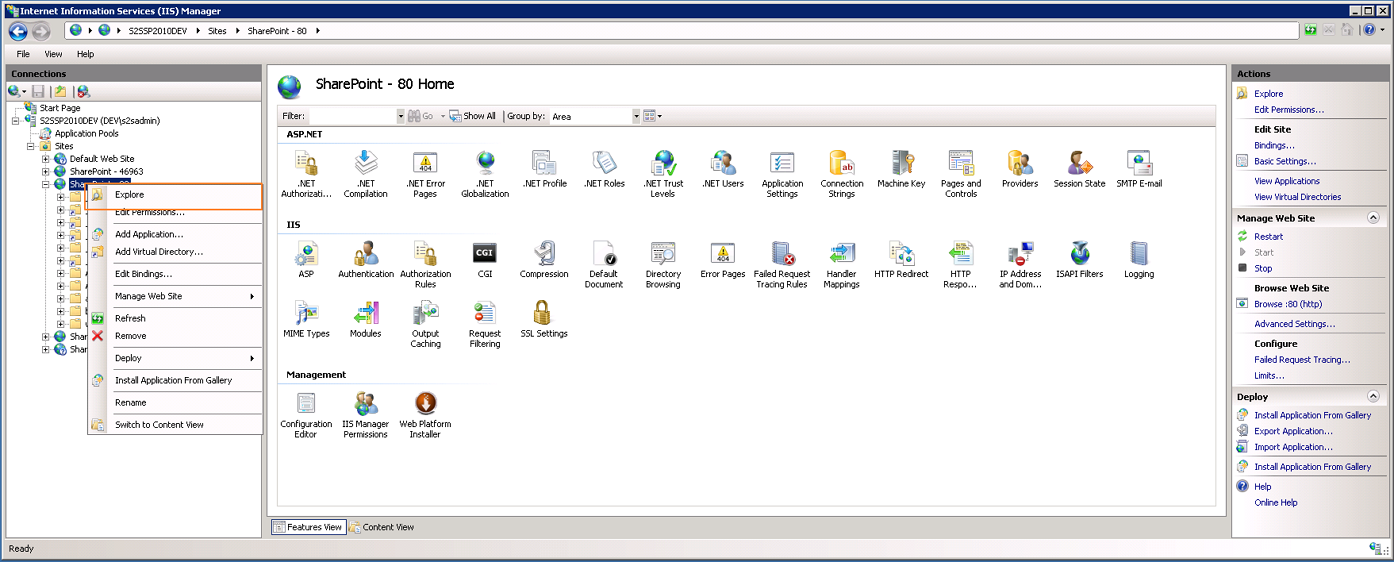
Please create the folder "App_Data"
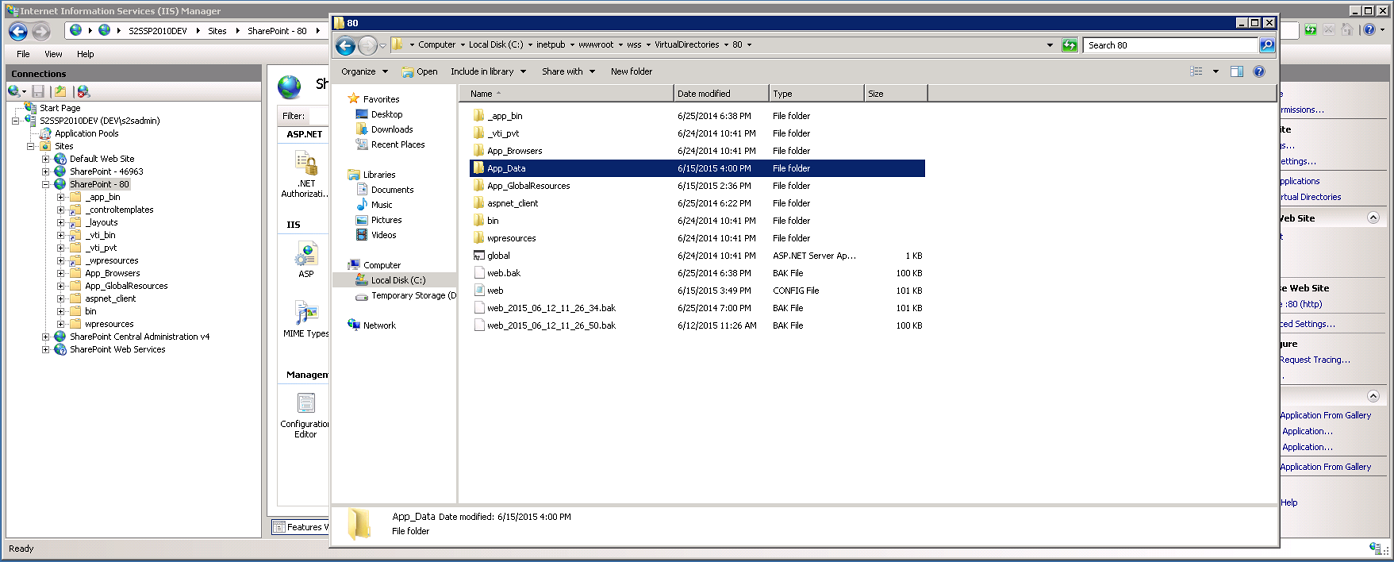
Please create the folder "RadUploadTemp"
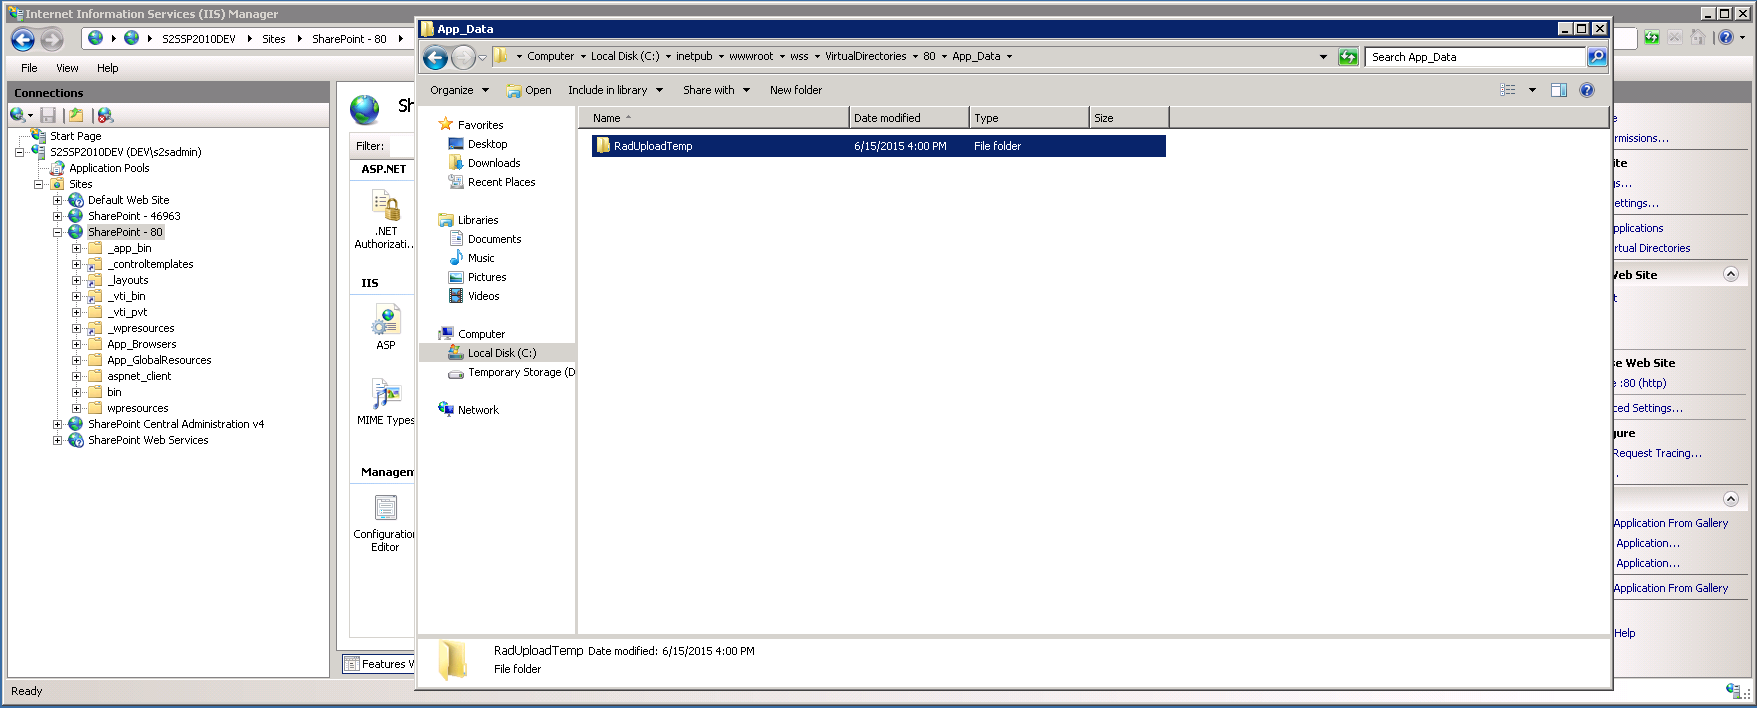
Navigate to "Properties" with a right click on the folder.
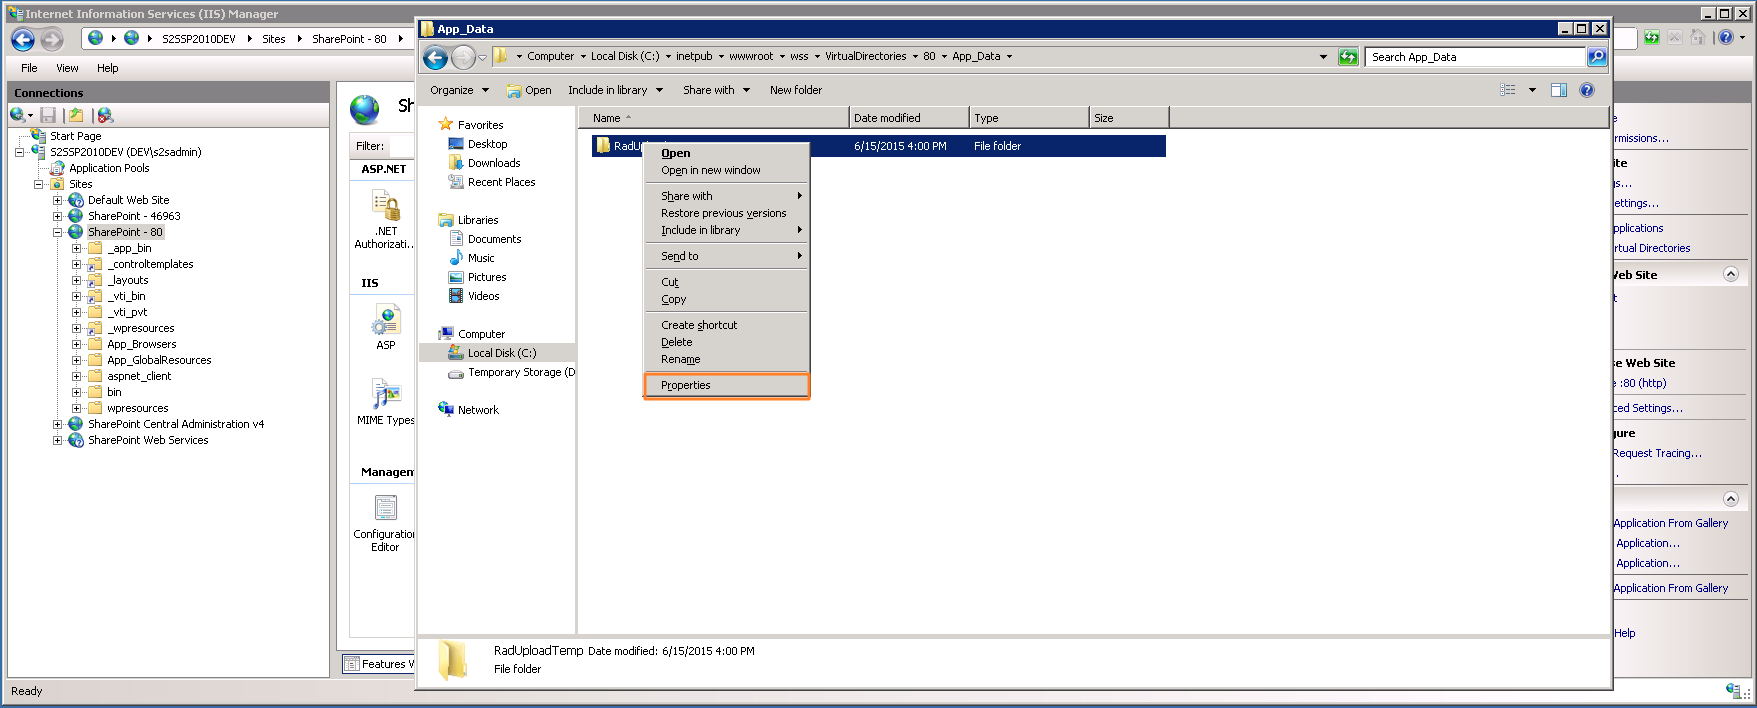
Select "Security" and than "Edit".
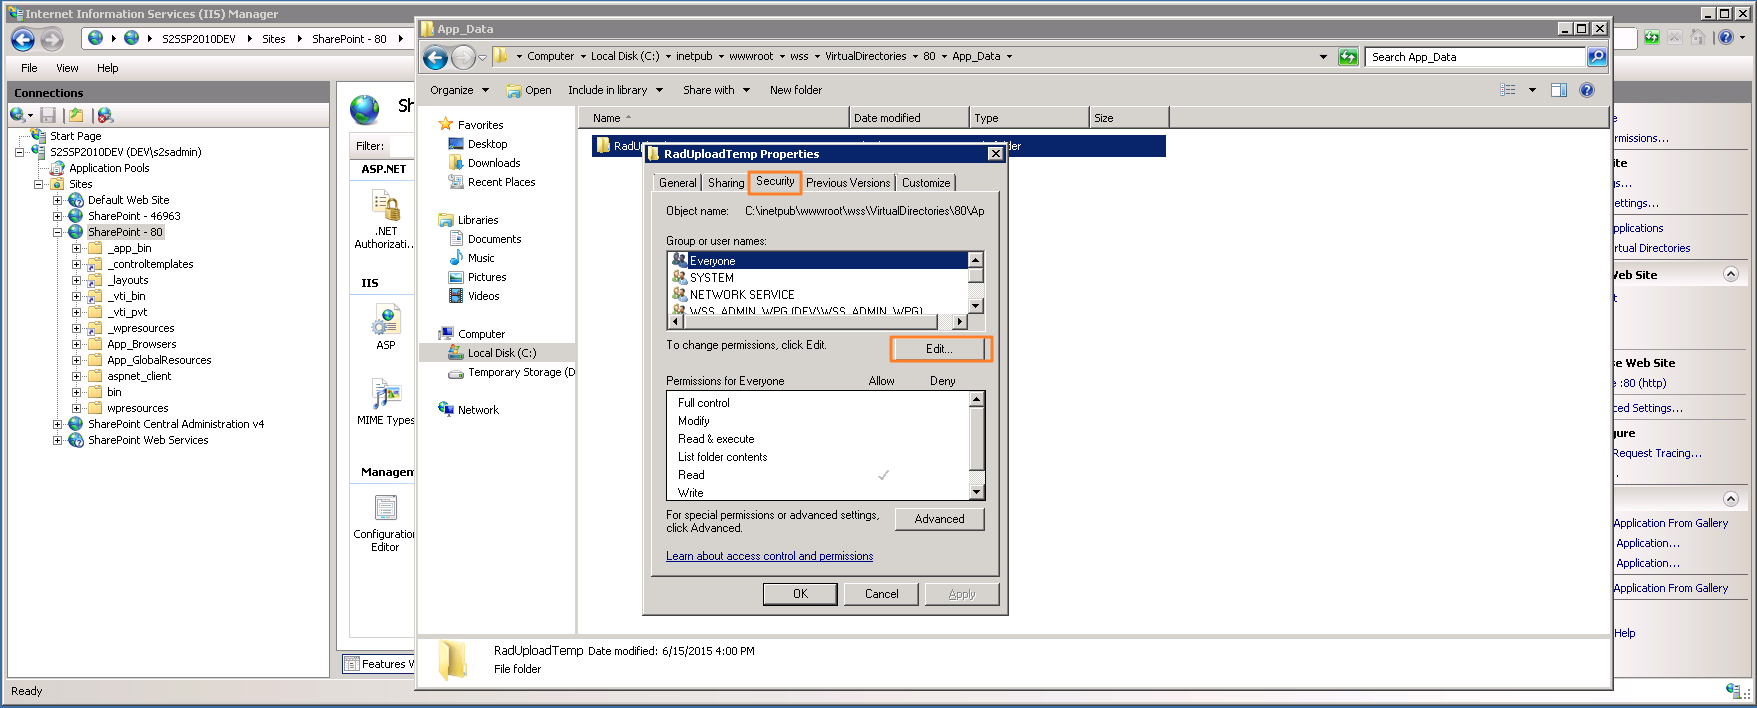
Select the "Add" - Button.
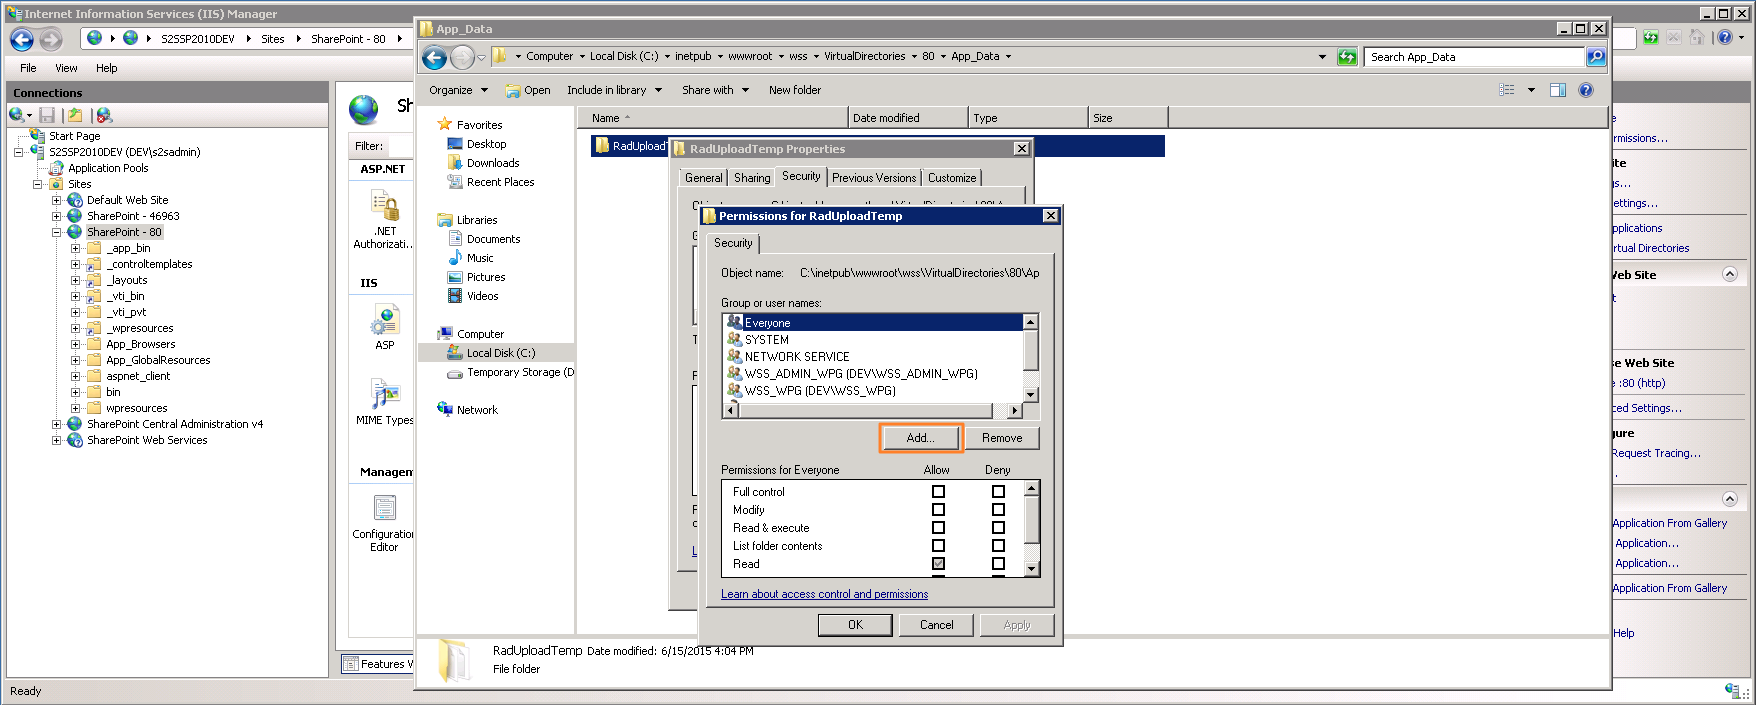
Now you have to insert the WebApplication Pool Service Account.
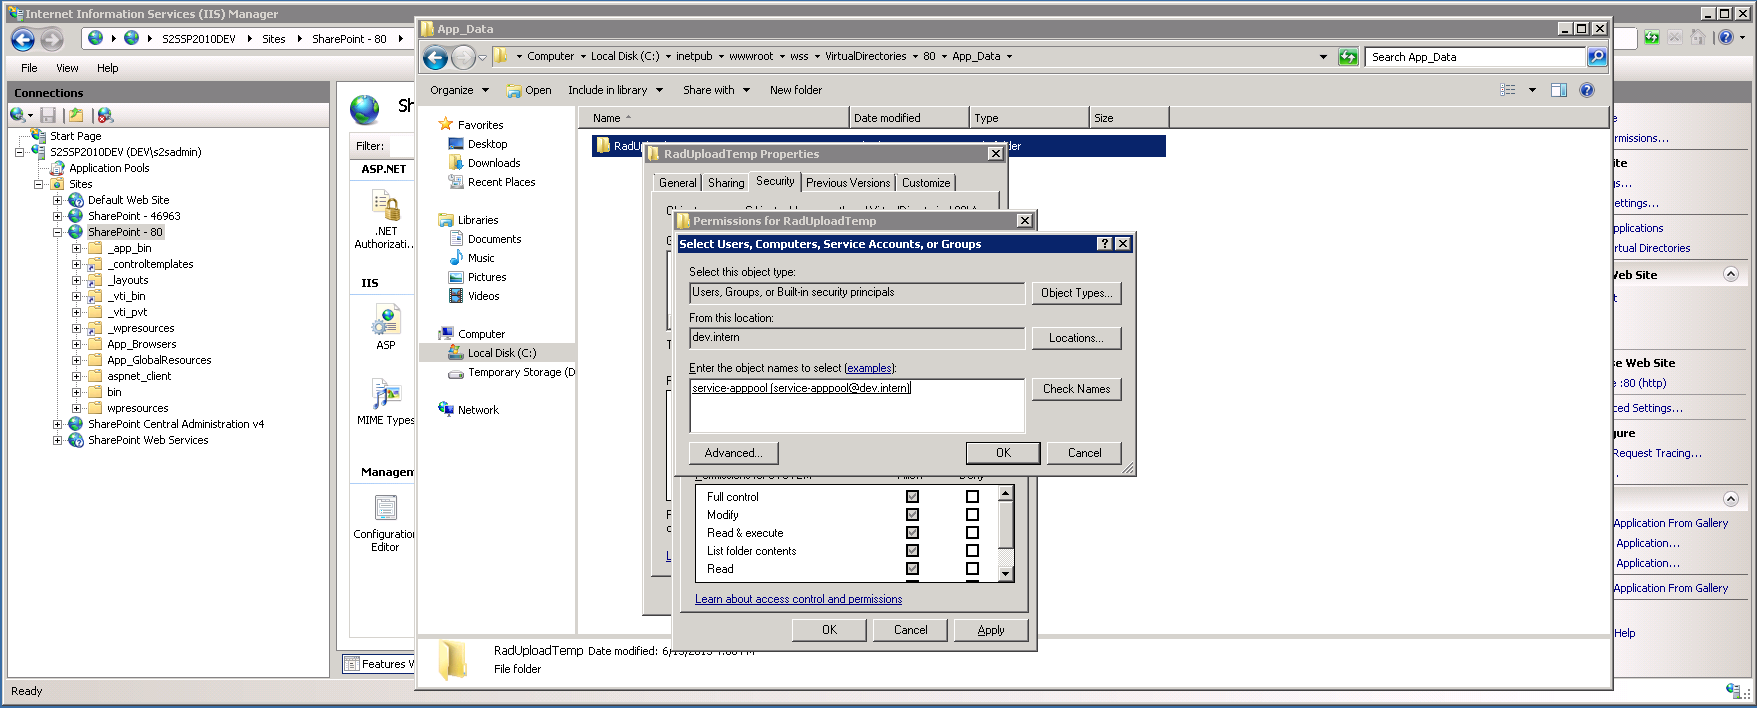
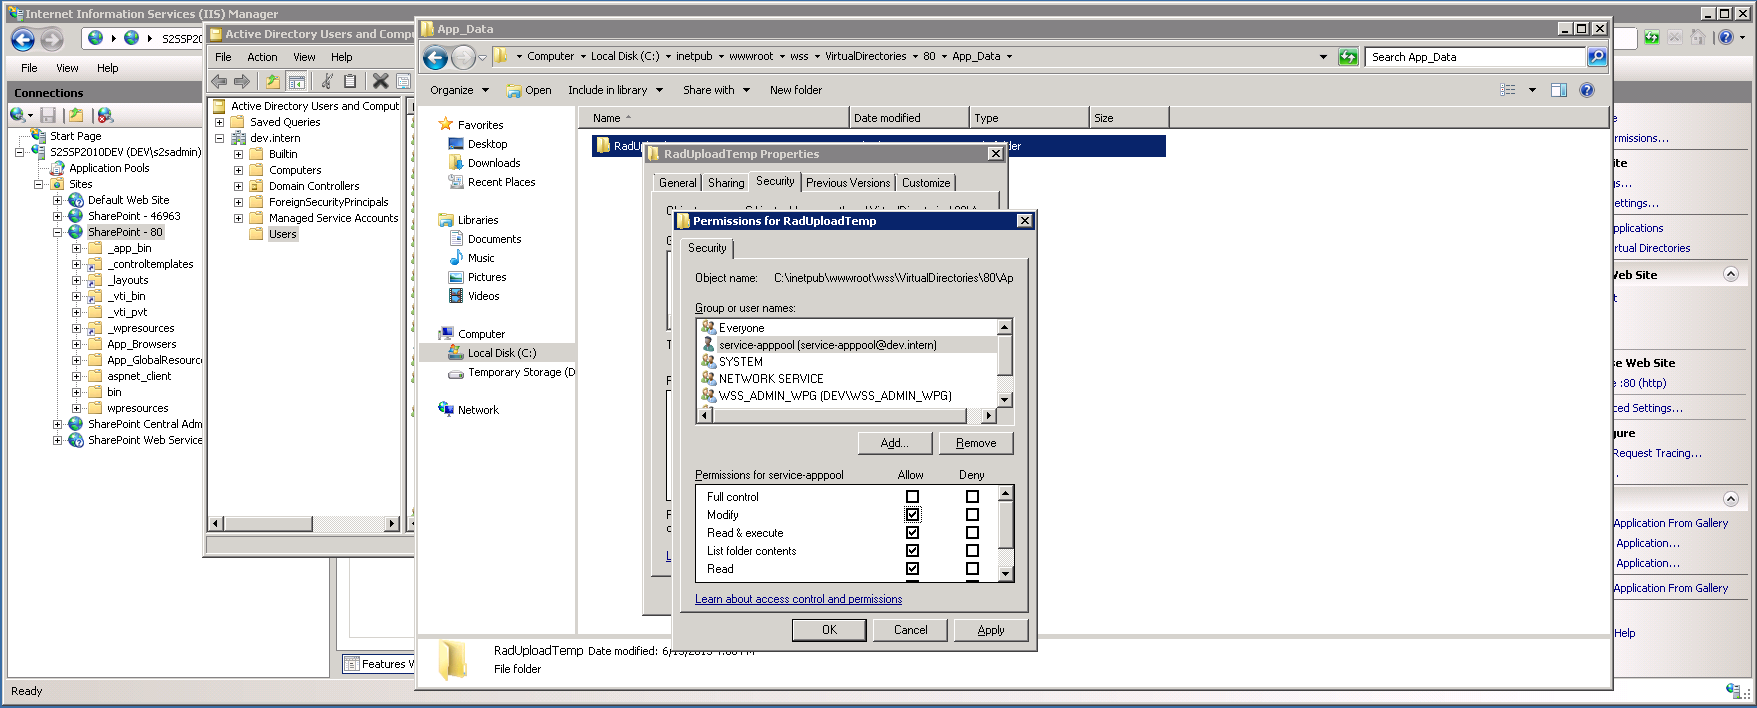
Please grant the "Modify" permission.
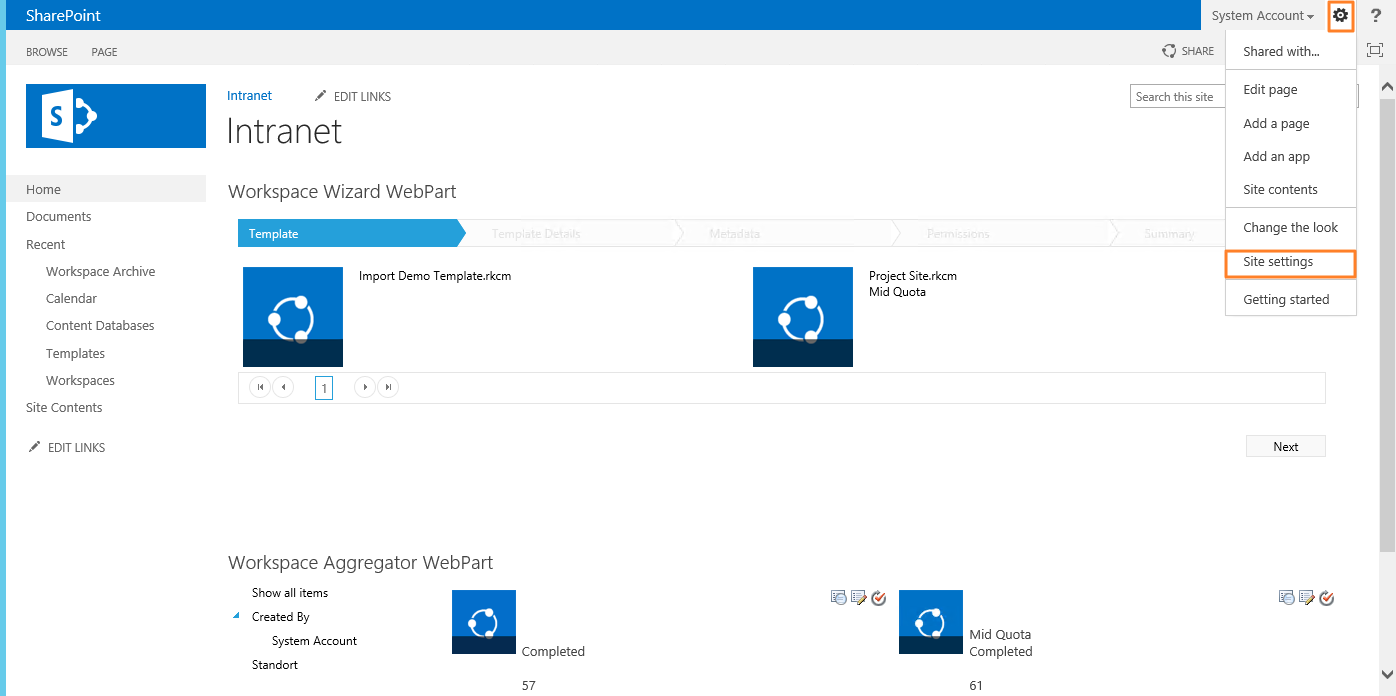
After that navigate to your root site. Navigate to your Site Settings.
Select the "Site content types" in the Galleries menu.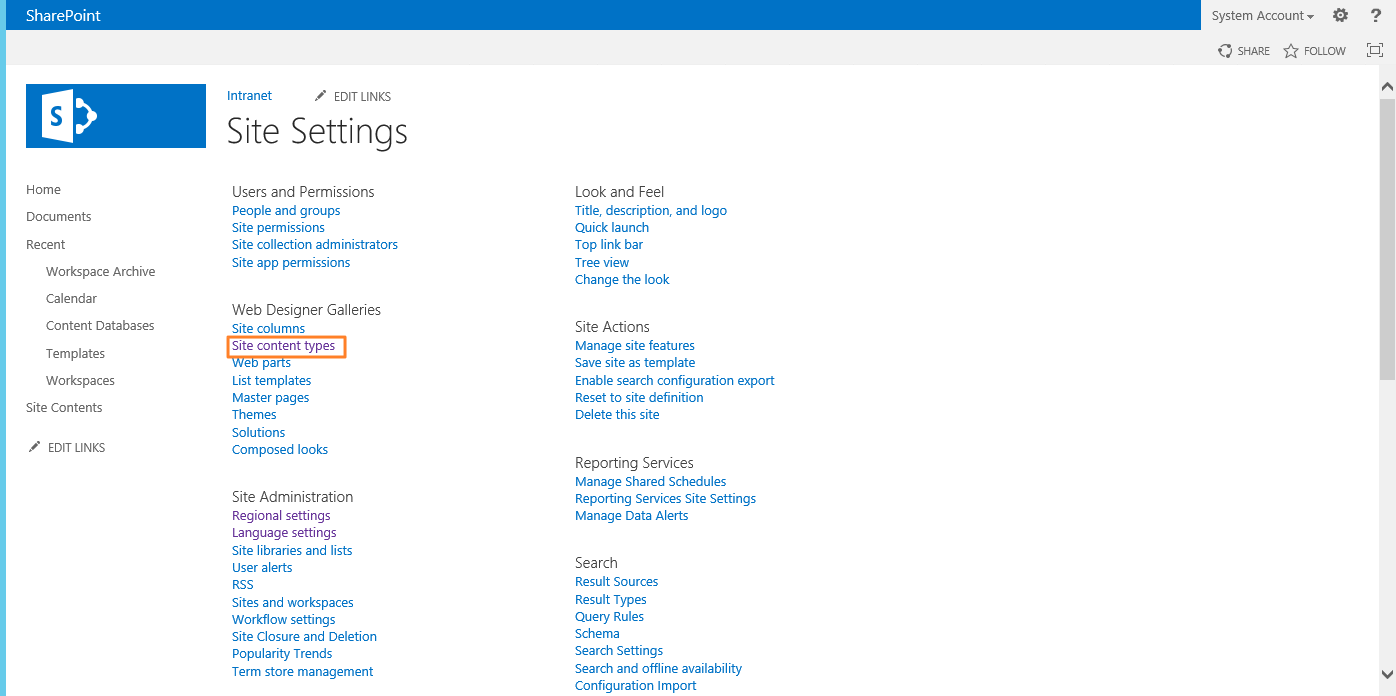
There are two Content Type's. Template and Workspace.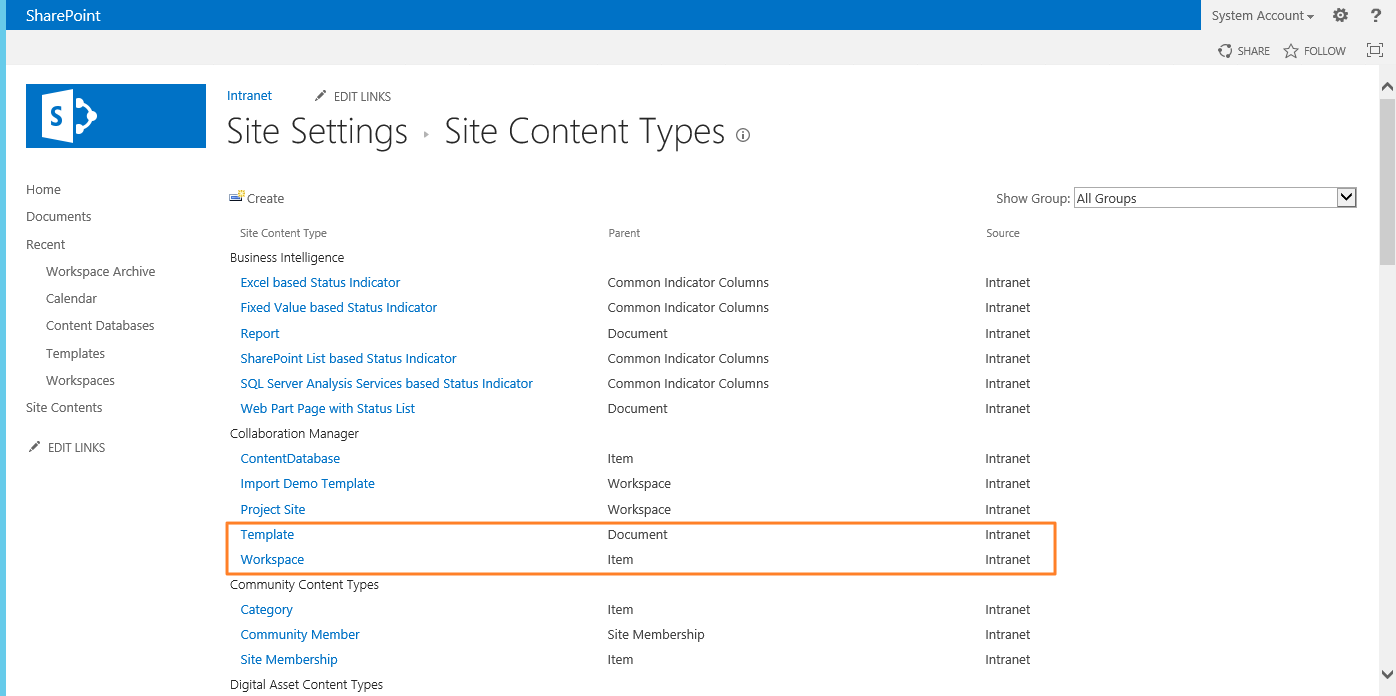
In the Content Type "Template" you have to set the columns "Screenshots" and "Logo" to the status "optional".
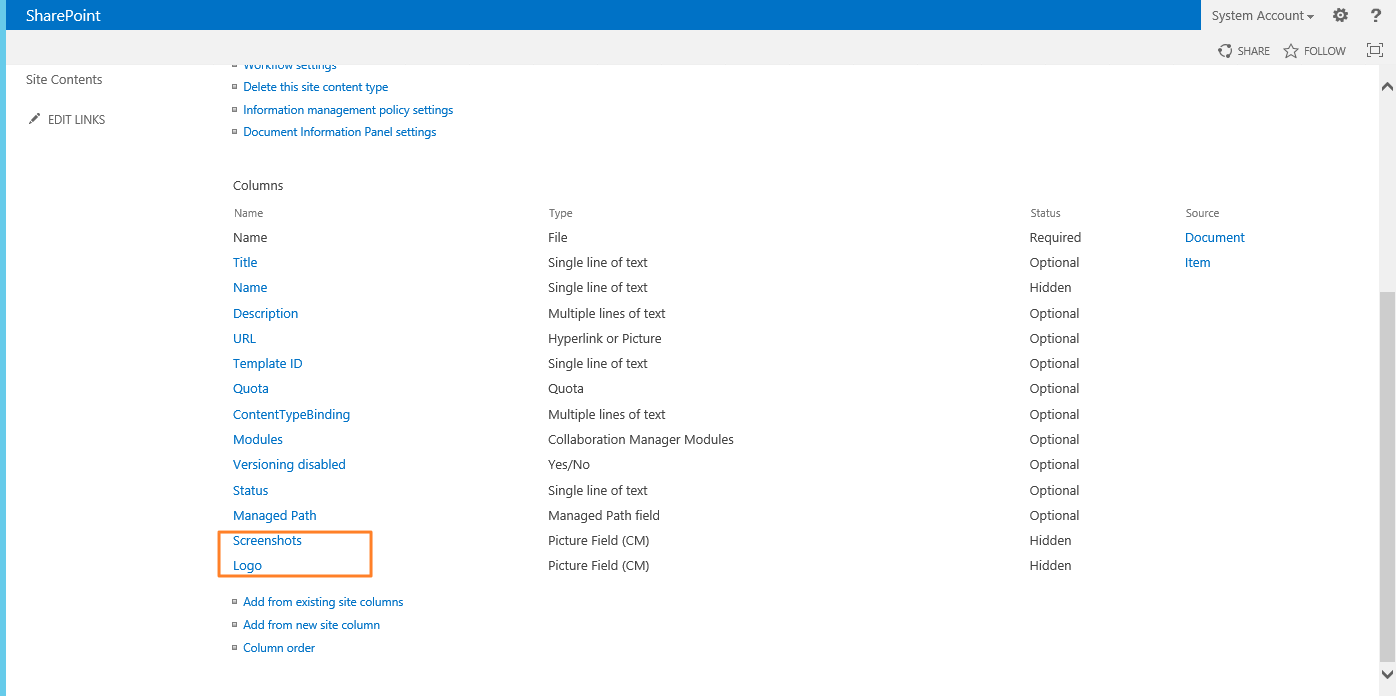
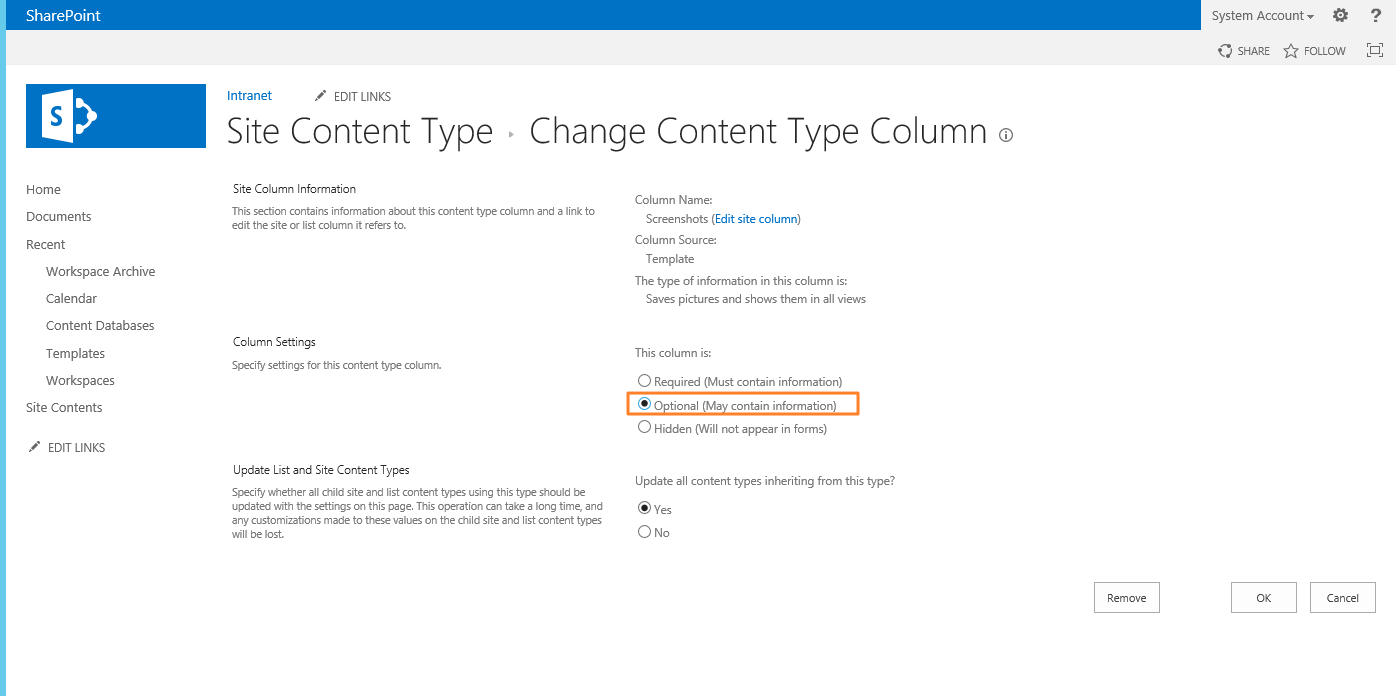
In the Content Type "Workspace" you have to set the status of the "Logo" column to "optional".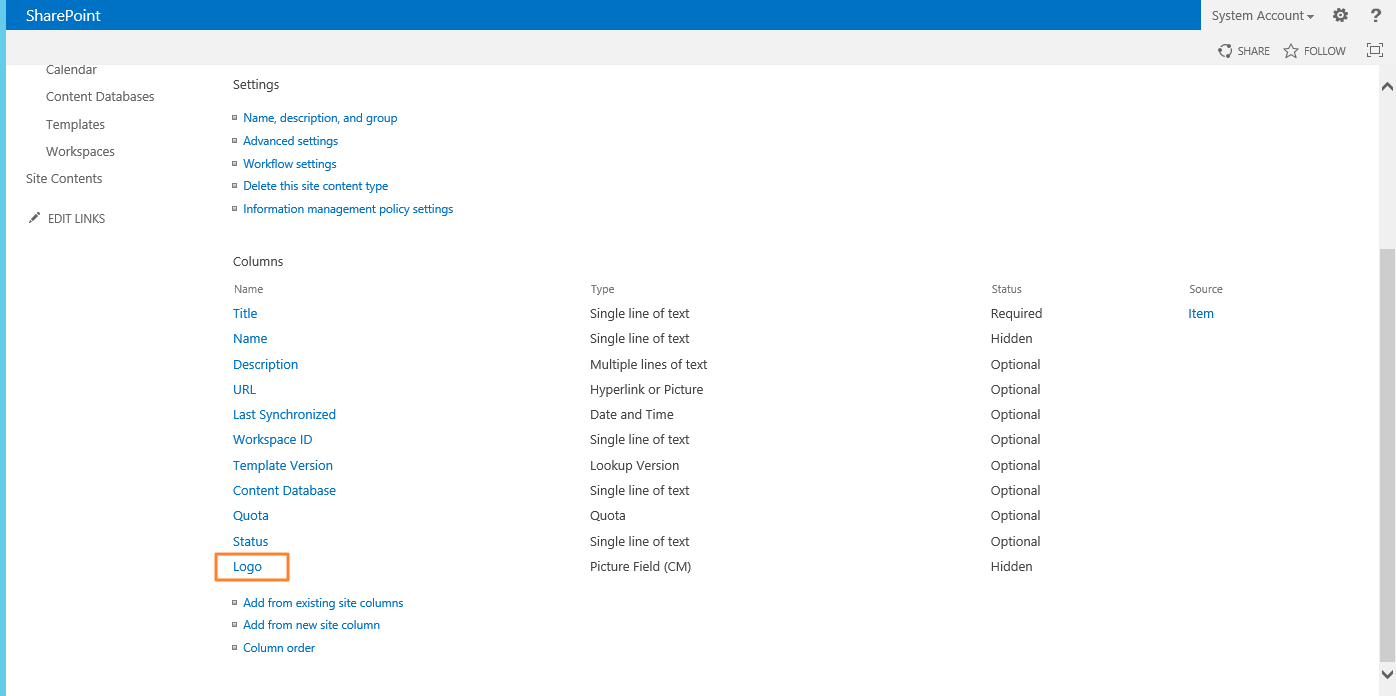
After that navigate to your template library and choose a template.
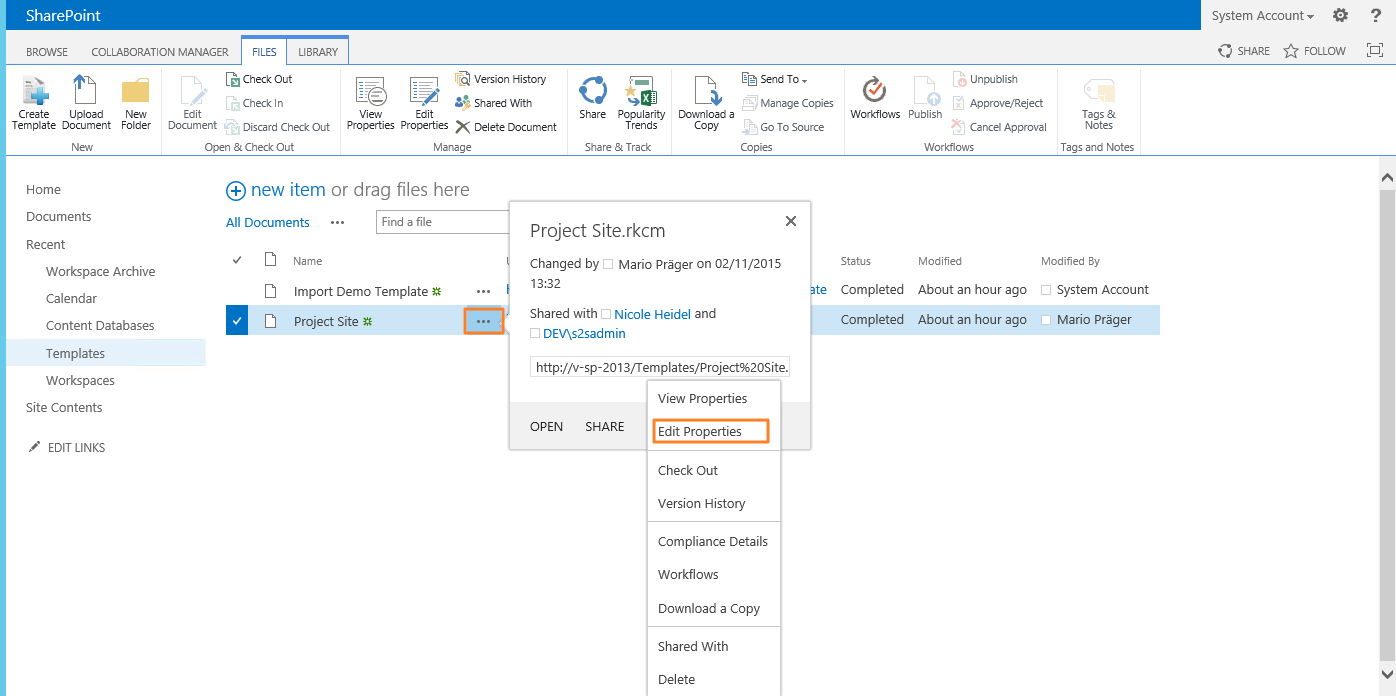
The two fields should be displayed now.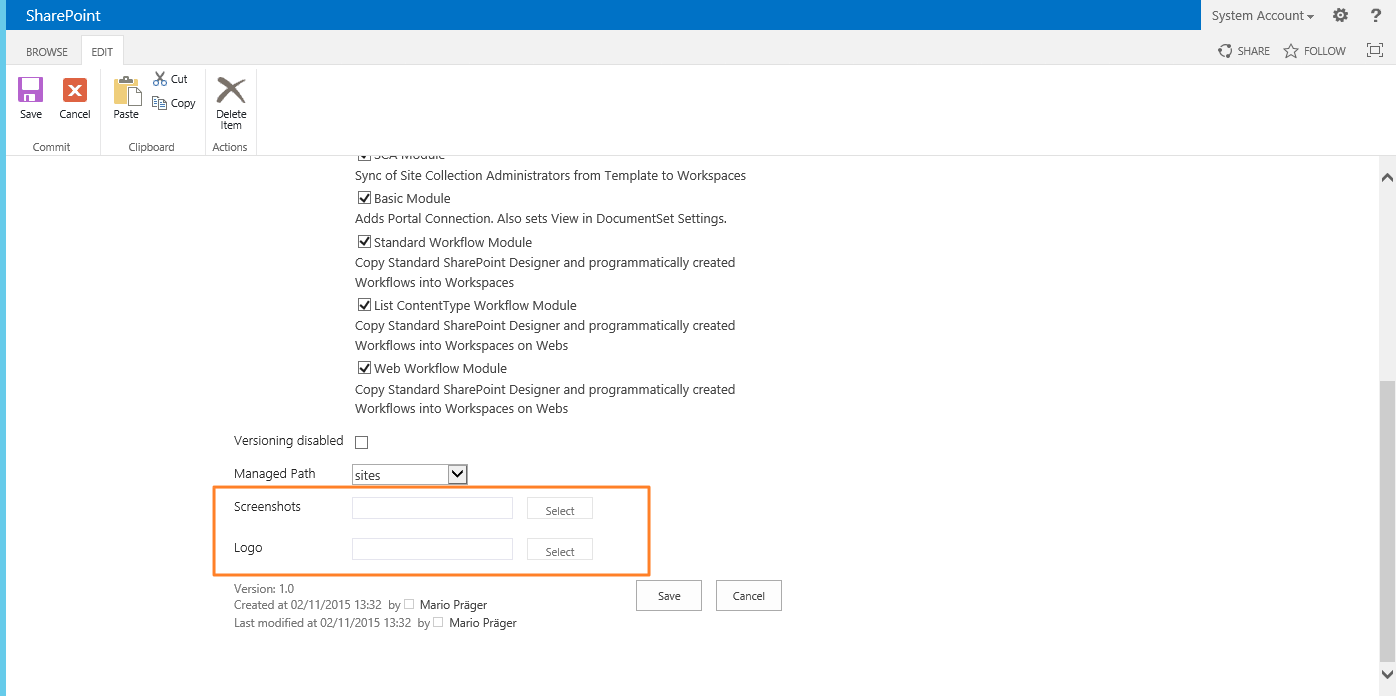
Choose a screenshot and a logo and wait for the green icon after the upload.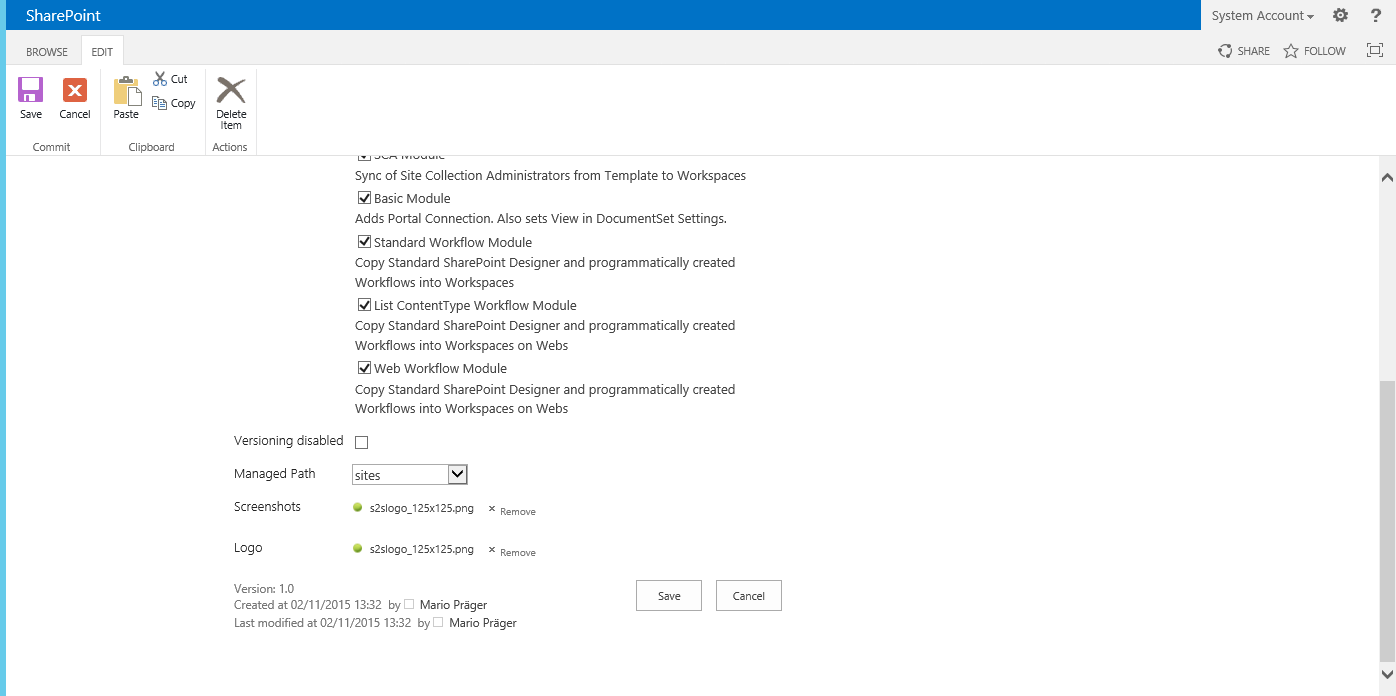 11
11
Finally the Logo Field works.